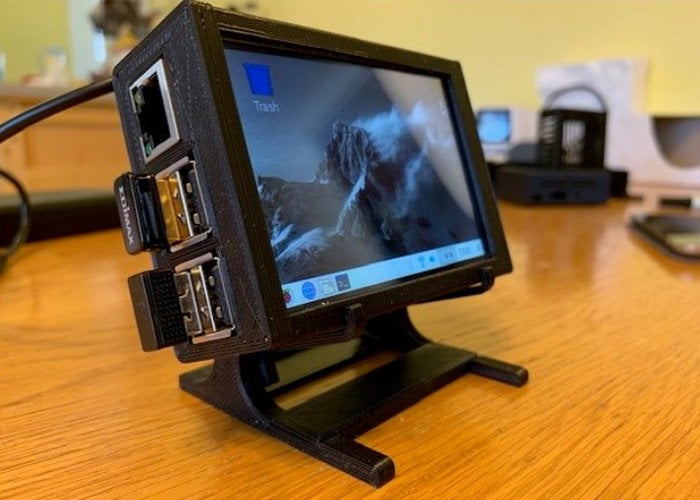
Remote monitoring using Raspberry Pi has become an indispensable tool for tech enthusiasts, hobbyists, and professionals alike. This compact yet powerful device allows users to access their systems remotely, manage IoT projects, and monitor various applications from anywhere in the world. Whether you're setting up a home automation system or managing a network of sensors, Raspberry Pi offers unparalleled flexibility and cost-effectiveness.
As remote work and IoT technology continue to grow, understanding how to set up and optimize remote monitoring on Raspberry Pi is more important than ever. This article will walk you through the process step-by-step, ensuring you have all the tools and knowledge needed to configure your Raspberry Pi for seamless remote access.
From setting up SSH to using advanced tools like VNC, we’ll cover everything you need to know to harness the full potential of Raspberry Pi for remote monitoring. By the end of this guide, you’ll be able to confidently manage your projects remotely and troubleshoot issues efficiently.
Read also:Comprehensive Guide To Ohio Bmv Registration Fee Everything You Need To Know
Table of Contents
- Introduction to Remote Monitor Raspberry Pi
- Hardware Requirements for Raspberry Pi Remote Monitoring
- Software Setup for Remote Monitoring
- Enabling SSH for Remote Access
- Using VNC for Remote Desktop Access
- Configuring Network Settings
- Advanced Tools for Remote Monitoring
- Security Best Practices for Remote Raspberry Pi
- Common Issues and Troubleshooting Tips
- Applications of Remote Monitor Raspberry Pi
- Conclusion and Next Steps
Introduction to Remote Monitor Raspberry Pi
Remote monitoring with Raspberry Pi opens up endless possibilities for managing devices and systems without being physically present. The Raspberry Pi, a credit-card-sized computer, is renowned for its versatility and affordability, making it ideal for remote access applications. Its ability to run lightweight operating systems and support multiple protocols makes it a favorite among developers and hobbyists.
Understanding the basics of remote monitoring is crucial before diving into the setup process. Essentially, remote monitoring allows you to access your Raspberry Pi from another device, whether it’s a computer, smartphone, or tablet. This setup is particularly useful for managing IoT devices, running server applications, or even monitoring environmental conditions.
Whether you’re a beginner or an experienced user, this guide will provide you with the necessary steps to configure your Raspberry Pi for remote monitoring. From setting up the initial environment to troubleshooting common issues, we’ll cover it all.
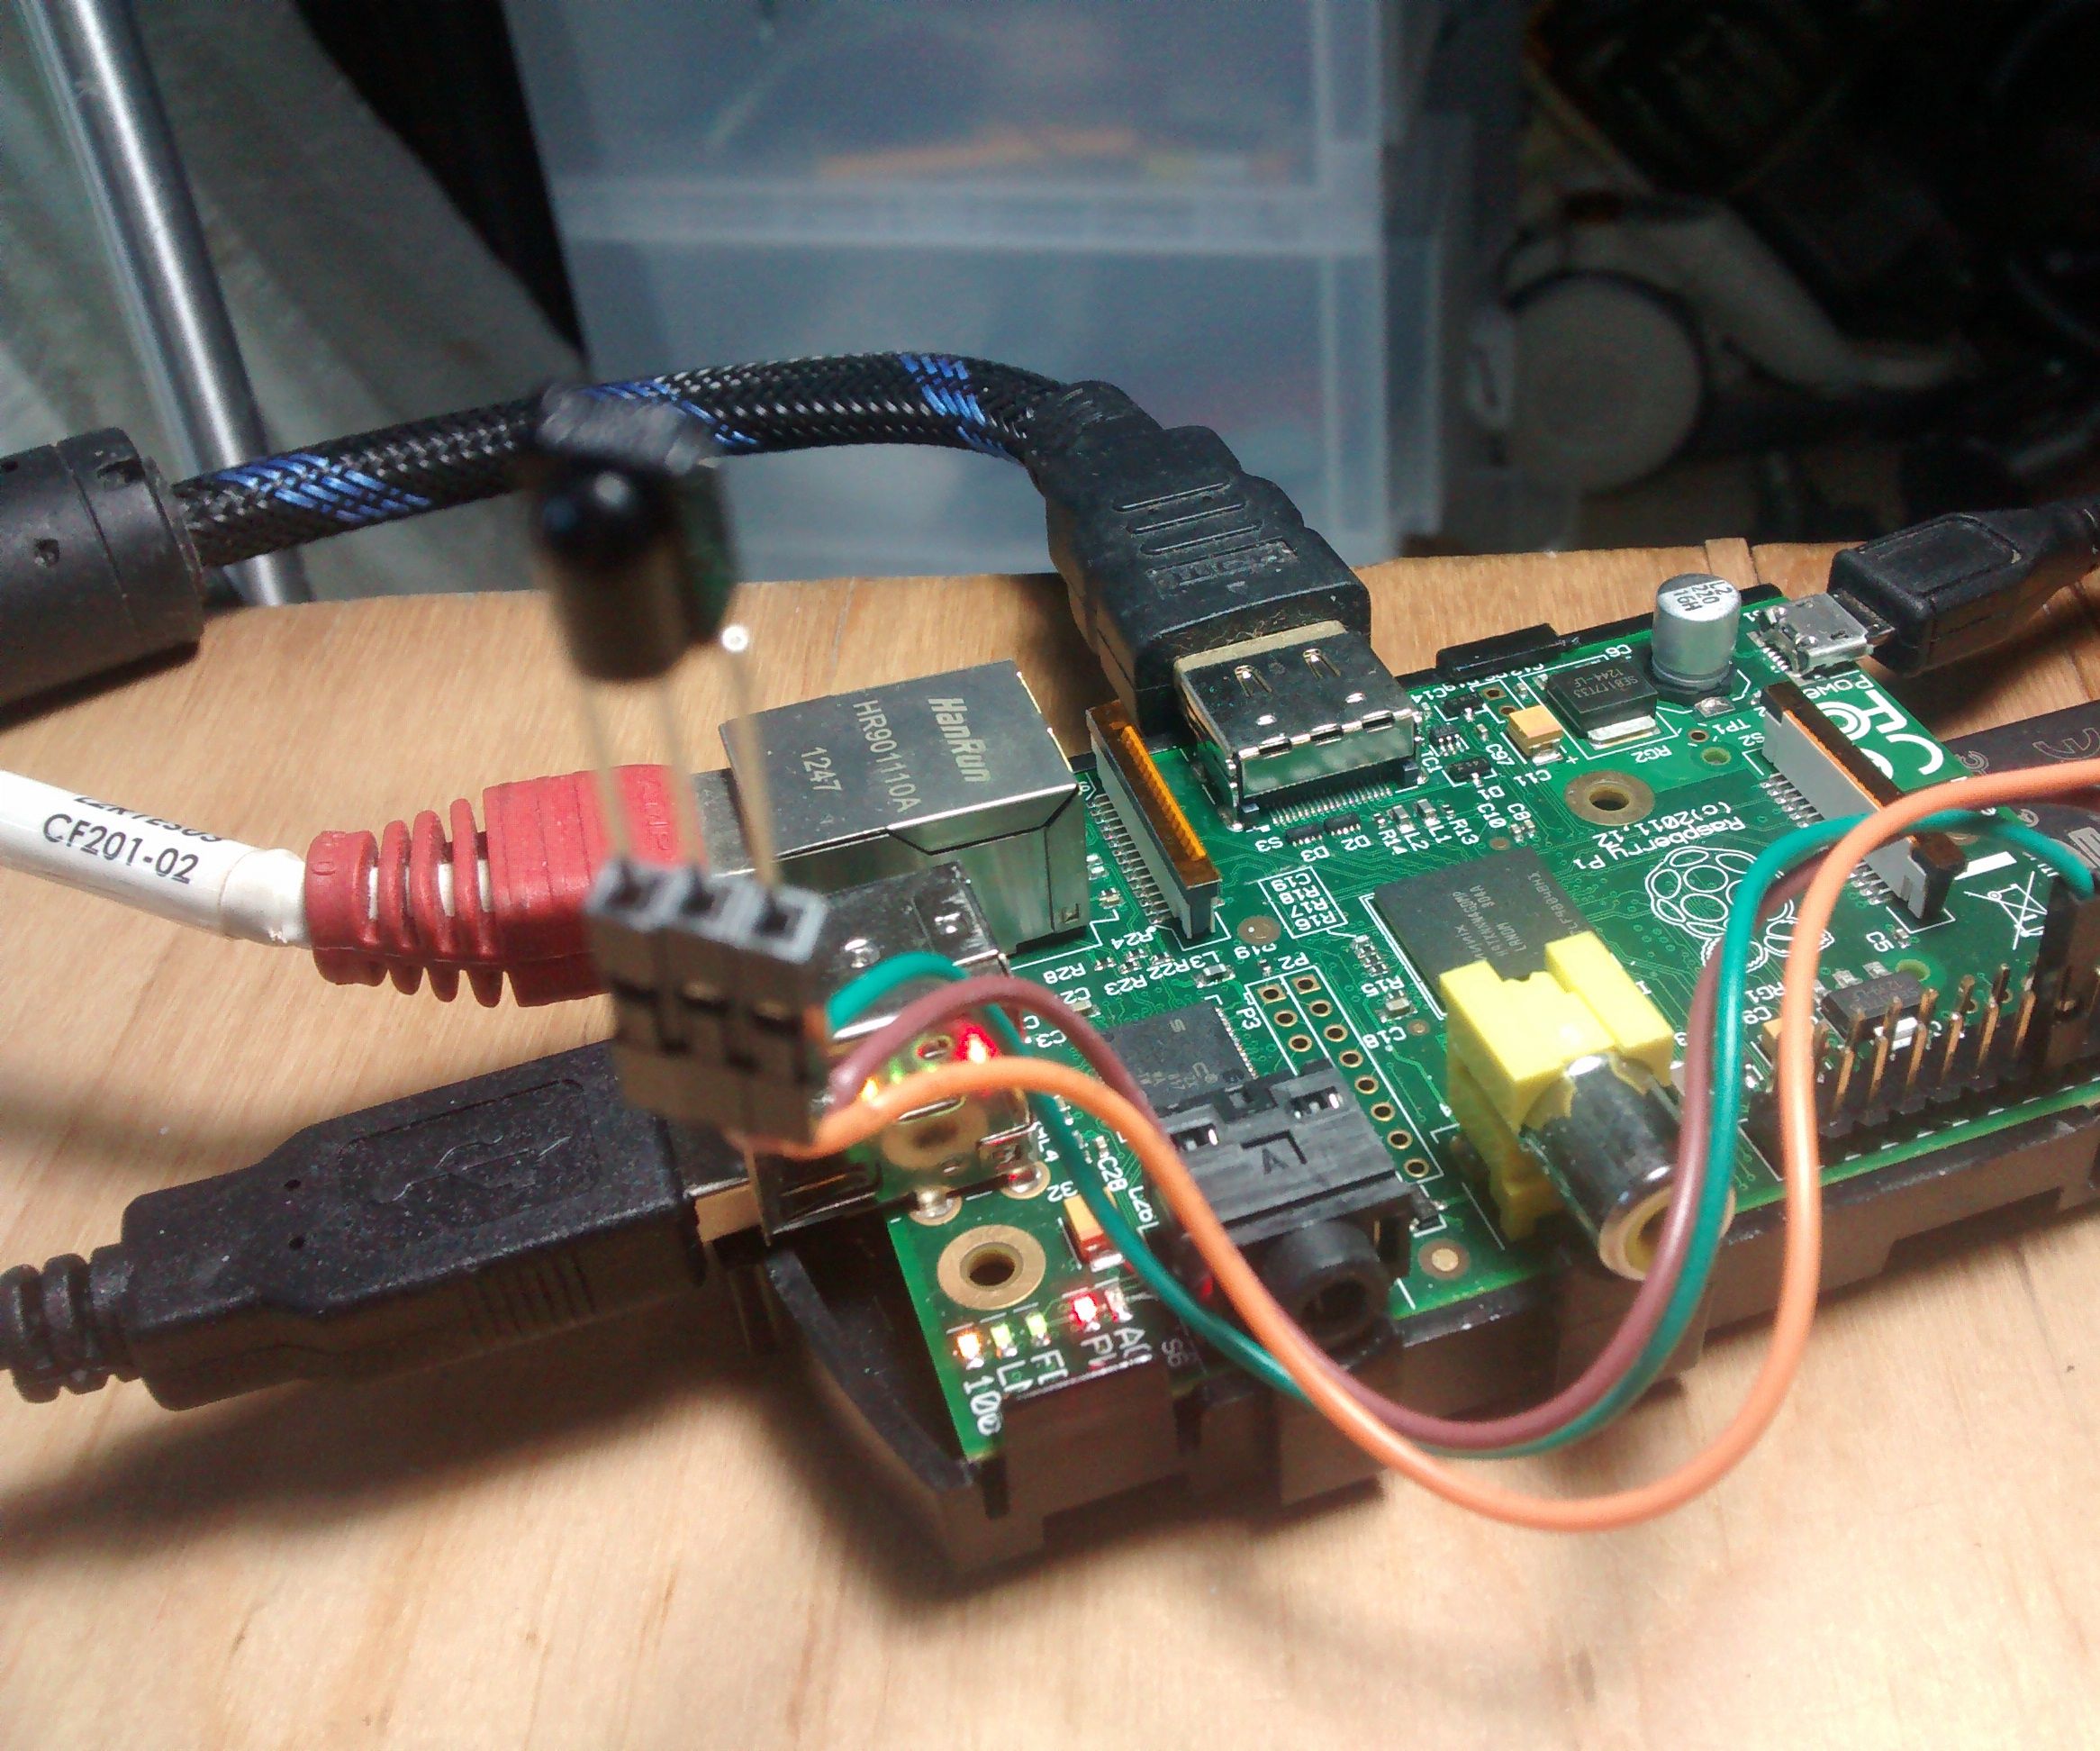
Hardware Requirements for Raspberry Pi Remote Monitoring
Before setting up remote monitoring on your Raspberry Pi, it’s essential to ensure you have the right hardware. The following list outlines the basic requirements:
- Raspberry Pi Model: Any model from Raspberry Pi 3 onwards is recommended due to better performance and connectivity options.
- Power Supply: A reliable power adapter with sufficient wattage to support your Pi and any connected peripherals.
- MicroSD Card: At least 16GB capacity with a fast read/write speed for optimal performance.
- Network Interface: Either an Ethernet cable or Wi-Fi dongle for internet connectivity.
In addition to these, having peripherals like a keyboard, mouse, and monitor can be helpful during the initial setup phase. However, once remote monitoring is configured, these may no longer be necessary.
Additional Accessories
Depending on your specific use case, you might also consider the following accessories:
Read also:What Is An Aba Number In Banking A Comprehensive Guide
- USB webcam for surveillance applications.
- Sensors for environmental monitoring.
- External storage for data logging and backup.
Software Setup for Remote Monitoring
Once the hardware is in place, the next step is setting up the software environment. The Raspberry Pi OS, formerly known as Raspbian, is the recommended operating system for most users. Here’s how you can install and configure it:
Step 1: Download the latest version of Raspberry Pi OS from the official website.
Step 2: Use a tool like Etcher to flash the OS image onto your MicroSD card.
Step 3: Insert the MicroSD card into your Raspberry Pi and boot it up.
After the initial setup, you can proceed to configure the software for remote monitoring. This involves enabling SSH, setting up VNC, and configuring network settings.
Operating System Variants
While Raspberry Pi OS is the most popular choice, there are other lightweight Linux distributions that you might consider depending on your needs:
- Ubuntu Core
- Debian
- Arch Linux ARM
Enabling SSH for Remote Access
SSH (Secure Shell) is a protocol that allows secure communication between two devices over an unsecured network. Enabling SSH on your Raspberry Pi is one of the first steps in setting up remote monitoring.
Step 1: Open the Raspberry Pi Configuration tool by typing the following command in the terminal:
sudo raspi-config
Step 2: Navigate to the Interfacing Options menu and select SSH.
Step 3: Choose to enable SSH and reboot your Raspberry Pi.
Once SSH is enabled, you can connect to your Raspberry Pi from another device using an SSH client like PuTTY (Windows) or the terminal (Linux/Mac).
SSH Security Tips
While SSH is secure by default, there are additional measures you can take to enhance security:
- Change the default SSH port (22) to a non-standard port.
- Use strong passwords or SSH keys for authentication.
- Limit SSH access to specific IP addresses.
Using VNC for Remote Desktop Access
For scenarios where you need full graphical access to your Raspberry Pi, VNC (Virtual Network Computing) is the solution. VNC allows you to control your Raspberry Pi’s desktop remotely, making it ideal for tasks that require a graphical interface.
Step 1: Enable VNC by opening the Raspberry Pi Configuration tool and navigating to the Interfacing Options menu.
Step 2: Select VNC and choose to enable it.
Step 3: Download and install a VNC client on your remote device.
Once VNC is set up, you can connect to your Raspberry Pi’s desktop and interact with it as if you were physically present.
VNC Performance Optimization
To ensure smooth performance, consider the following tips:
- Use a wired Ethernet connection for better stability.
- Adjust the resolution settings to balance between quality and speed.
- Enable compression to reduce bandwidth usage.
Configuring Network Settings
Proper network configuration is crucial for successful remote monitoring. Whether you’re using a wired or wireless connection, ensuring your Raspberry Pi is properly connected to the internet is essential.
Step 1: Check your network settings by typing the following command in the terminal:
ifconfig
Step 2: If using Wi-Fi, connect to your network by editing the wpa_supplicant.conf file:
sudo nano /etc/wpa_supplicant/wpa_supplicant.conf
Add your network details and save the file. Reboot your Raspberry Pi to apply the changes.
Static IP Configuration
Assigning a static IP address to your Raspberry Pi can simplify remote access. Follow these steps:
- Open the dhcpcd.conf file:
sudo nano /etc/dhcpcd.conf - Add the following lines, replacing with your desired IP address and gateway:
interface eth0static ip_address=192.168.1.100/24static routers=192.168.1.1
Advanced Tools for Remote Monitoring
Beyond SSH and VNC, there are several advanced tools you can use to enhance your remote monitoring capabilities:
- TeamViewer: A user-friendly tool that offers both SSH and VNC-like functionality.
- NGROK: A tunneling tool that allows you to expose local services to the internet securely.
- Home Assistant: A home automation platform that integrates with Raspberry Pi for comprehensive monitoring.
Each of these tools has its own strengths and is suitable for different use cases. Experiment with them to find the one that best fits your needs.
Tool Comparison
Here’s a quick comparison of the tools mentioned:
- TeamViewer: Easy to set up, cross-platform support.
- NGROK: Ideal for developers, secure tunneling.
- Home Assistant: Best for IoT and home automation projects.
Security Best Practices for Remote Raspberry Pi
Security should always be a top priority when setting up remote monitoring. Here are some best practices to follow:
- Regularly update your Raspberry Pi’s software to patch vulnerabilities.
- Use strong, unique passwords for all accounts.
- Enable a firewall to restrict unauthorized access.
- Monitor logs for suspicious activity.
By implementing these practices, you can significantly reduce the risk of unauthorized access and ensure the security of your remote monitoring setup.
Firewall Configuration
Setting up a firewall is a straightforward process. Use the following commands to install and configure UFW (Uncomplicated Firewall):
sudo apt install ufw
sudo ufw allow ssh
sudo ufw enable
Common Issues and Troubleshooting Tips
Despite careful setup, issues may arise during remote monitoring. Here are some common problems and their solutions:
- SSH Connection Refused: Check your network settings and ensure SSH is enabled.
- VNC Connection Issues: Verify that VNC is running and the correct port is being used.
- Slow Performance: Optimize network settings and reduce graphical demands.
Refer to the official Raspberry Pi documentation for more detailed troubleshooting guides.
Applications of Remote Monitor Raspberry Pi
Remote monitoring with Raspberry Pi has a wide range of applications across various fields:
- Home Automation: Control smart devices and monitor home conditions remotely.
- Environmental Monitoring: Use sensors to track temperature, humidity, and other environmental factors.
- Security Systems: Set up surveillance cameras and motion detectors for enhanced security.
These applications demonstrate the versatility and potential of Raspberry Pi in remote monitoring scenarios.
Conclusion and Next Steps
Setting up and mastering remote monitoring on Raspberry Pi is a valuable skill for anyone interested in IoT, home automation, or network management. By following the steps outlined in this guide, you can configure your Raspberry Pi for seamless remote access and efficient monitoring.
We encourage you to experiment with different tools and techniques to find what works best for your specific needs. Don’t forget to implement security best practices to protect your setup from potential threats.
Feel free to leave a comment below if you have any questions or share this article with others who might find it useful. For more in-depth guides and tutorials, explore our other articles on Raspberry Pi and related technologies.